Assalam wbt.
Cara nak install Python senang saja. Sila ikut panduan yang saya berikan di bawah. Insya Allah pasti berjaya.
Step1:
Get
the installer from the existing archive on https://repo.anaconda.com/archive/
Step2:
Choose the 2018 version: Anaconda3-2018.12-Windows-x86_64.exe. You can download from the website. It’s about 614.3 Mb. You can opt to have the most recent version of 2021 but the old version still can be used for any scientific work. Usually the recent version the new updates libraries are already installed for you hence need not to worry about any missing library. The old version is somehow can be used but need to traditionally installed the missing library using PIP or CONDA channel. I guess using old version maybe useful to the new beginners like us.
Step 3:
Run the executable installer on your machine. It takes quite some time to complete the installation.
Step 4:
Let the system suggest you where the folder location that the installer will keep all the files for setting up during installation process. Usually it will be placed under C: drive. Upon successful installation your Anaconda folder will be seen at C:\Users\User\Anaconda3.
Step 5:
Some of the syntax required certain library for execution. Some of the library needed to be installed separately using Anaconda Command Prompt from your machine. The Basemap library for instance needs to be installed separately and compulsory for preparing the settings on the computer System Environment Variable. In order to install Basemap library or other libraries that may come forward after this, use this command options from your Anaconda Command Prompt;
- conda install -c conda-forge basemap
- conda install basemap
- pip install basemap
Step 6:
Setting up your Environment Path. Search System Properties from searching box by typing System Environment Variable. The machine will guide you to this window. Klick Environment Variables at the bottom.
Step 7:
Create new path at both “User variable for user” and “System variables”. Name your variable as PROJ_LIB and insert values as :
C:\Users\User\Anaconda3\pkgs\proj4-5.2.0-ha925a31_1\Library\share
Don’t
forget to save the changes and RESTART
the machine.
To check if your machine working well search Anaconda Command Prompt on your machine and then click pip list to observe how many libraries that already installed. Most recent version Anaconda will have more library than 2018 version. However, we will add the library from time to time when needed.
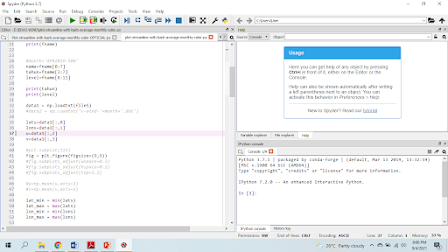
Step 9:To execute the spyder search spyder from your machine and double click to launch the console. Now the spyder console is ready for you to start with. We will explore the beautiful of the Python programming soon.
Selamat mencuba..


No comments:
Post a Comment